
Refurbishing a ZX Spectrum 16K (Part 2)
All the parts required to finish refurbishing the ZX Spectrum 48K (upgraded from a 16K model) have been delivered, so time to start working on the unit again.
To complete this unit I will be performing the following tasks
- Clean the case
- Perform RF to AV modification
- Replace a broken keyboard membrane
- Install a new rubber keyboard mat
- Install a new faceplate
Composite Video modification
Before starting this task I first looked up some information on the Internet and watched several instruction videos on YouTube. The video ZX Spectrum 48k Easy Composite Mod from Jan Beta provides detailed instructions on how to perform this particular modification.
Basically it comes down to four relatively simple steps (if you have some soldering skills).
Step 1
De-solder the power feed wire from the board and bend it around the side of the RF modulator
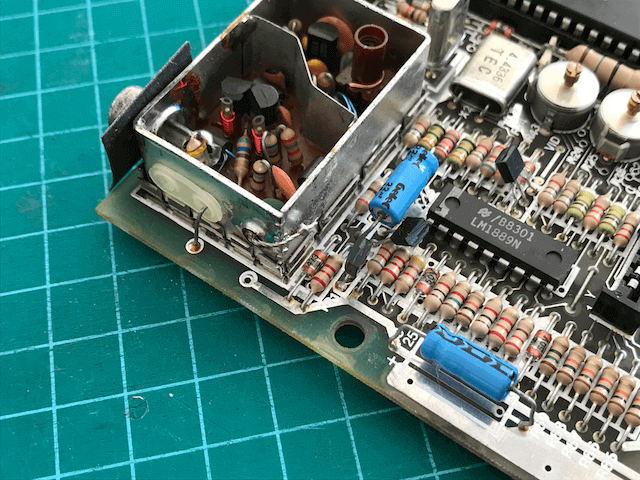 De-solder the power feed
Step 2
De-solder the resistor from center pin of the RF socket and bend it out of the way of the other components, so to make room for the next steps
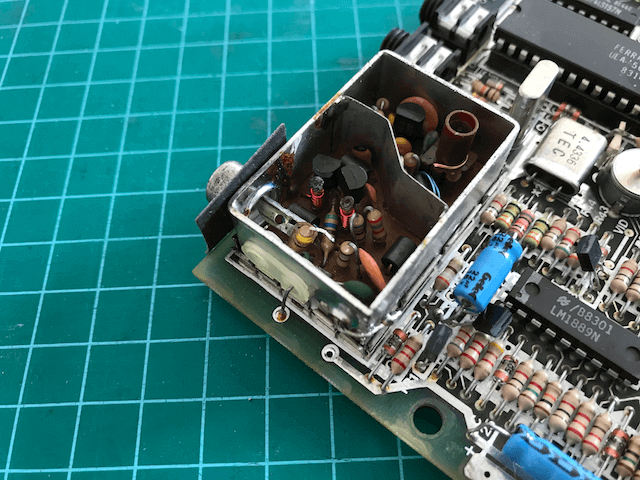 De-solder the resistor from center pin of the RF socket
Step 3
De-solder the video feed wire from the board and wrap it in some heat-shrink tubing (just to make sure there is no unwanted contact anywhere). Will need to get thinner tubing to have a better fit, but it will do for now. Still have to get a heat gun so I used my wifes blow-dryer instead, works like charm
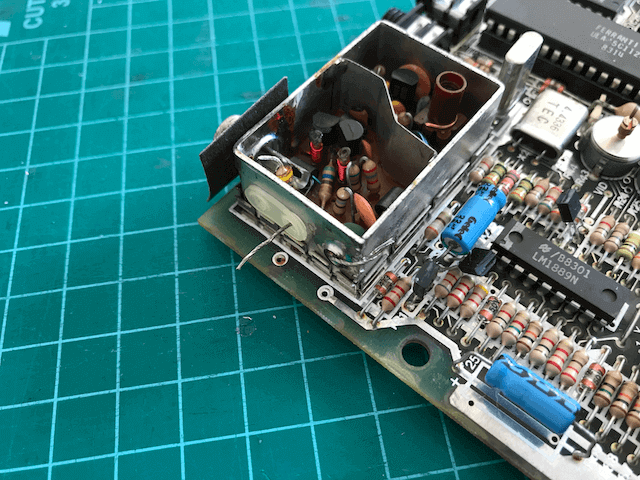 De-solder the video feed
Step 4
Solder a capacitor (100μF, 16V) between the center pin and the video feed link board (negative is connected to the center pin of the RF socket). If you wish you could even just solder a wire instead of a capacitor, but from what I have read a capacitor will provide a better/cleaner signal.
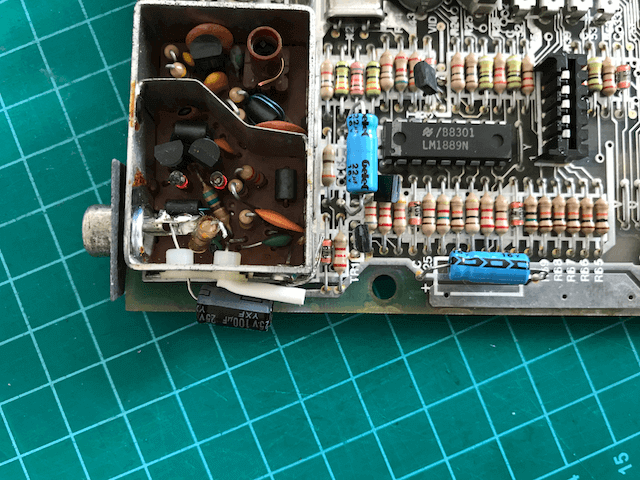 Solder capacitor to RF socket
I could have just cut away the wires and the resistor, but this way this modification is completely reversible. Who knows maybe someday RF TV sets will be readily available again…
To test the mod I used a 3.5 Inch TFT LCD Monitor I had ordered a while back from Lightinthebox.com (a site similar to AliExpress).
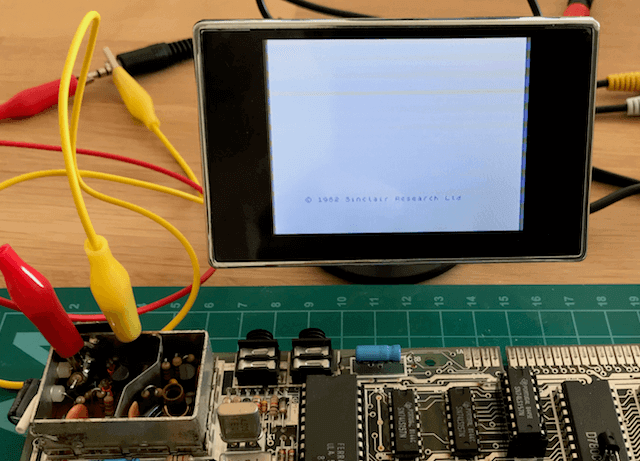 A working AV mod
Cleaning the case
To clean the case I just used a regular cleaning agent used to clean windows and surfaces. To clean of the sticky residue from the rubber feet I used my fingers to rub of as much as possible.
 Topcase covered in glue
To remove the glue used to hold the faceplate in-place I do not recommend to use the rubbing-method, or at least be more careful then I was… Ouch
 My sore thumb
If you choose to use a more aggressive cleaning agent be mindful that they might damage the plastic itself, liking fading the color of the case.
 Cleaned topcase
Installing new rubber feet
For the new rubber feet I had ordered a couple of sets (the one including replacement case screws) from Retro Computer Shack. When taking of the protecting cover be very careful, because in my case with three out of the four feet the glue strip came of of the feet.
 Bottom case with new rubber feet
Install the new keyboard membrane, rubber mat and faceplate
Looking a the keyboard a bit longer I decided it didn’t look good enough, so I ordered a new mat and faceplate from ZX Renew. They are selling replacement parts (Cases, faceplate, keyboard mats) in a range of different colors to suite your taste. I opted for the regular colors instead.
The faceplate already has strips of double sided tape applied making installing the faceplate a very easy job.
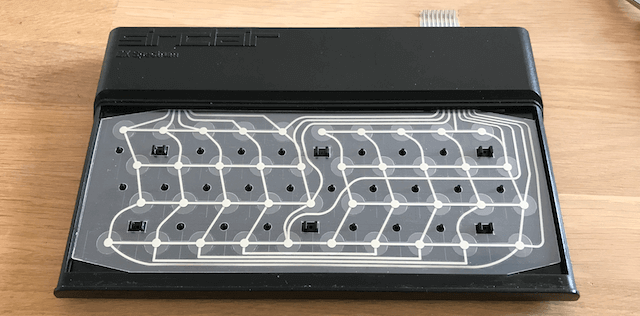 New membrane installed
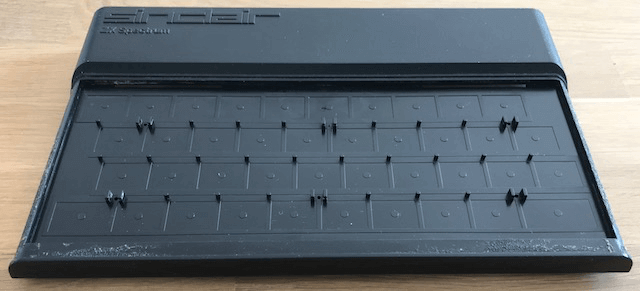
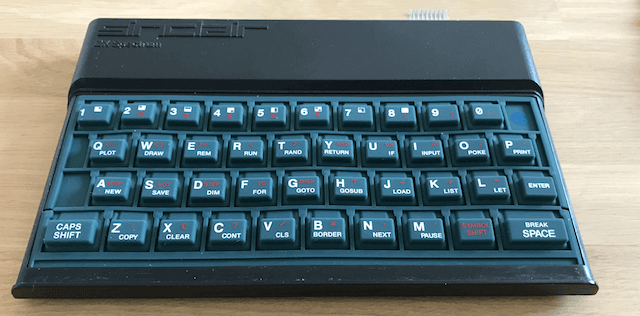 New rubber keyboard mat installed
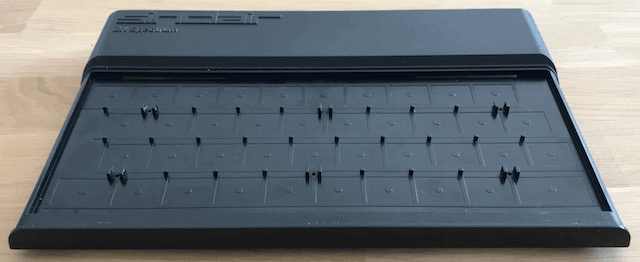
 New faceplate installed
Final assembly
Last step is just putting the five screws back in place and the job is done. I however ran into some issues. The keyboard was working fine when the case was still open, but as soon as all the screws had been installed keyboard was unresponsive. Opening the case up again would resolve the issue?! I tried to see if something was touching some part that shouldn’t make a connection, but I couldn’t find any.
After several tries I noticed that if I didn’t tighten the screw located nearest to the RF module too fast the keyboard stays response. So for now it works, although I will have to find a more satisfying solution for this keyboard-related issue (the issue was already present before I performed the composite mod).
But the end result looks awesome .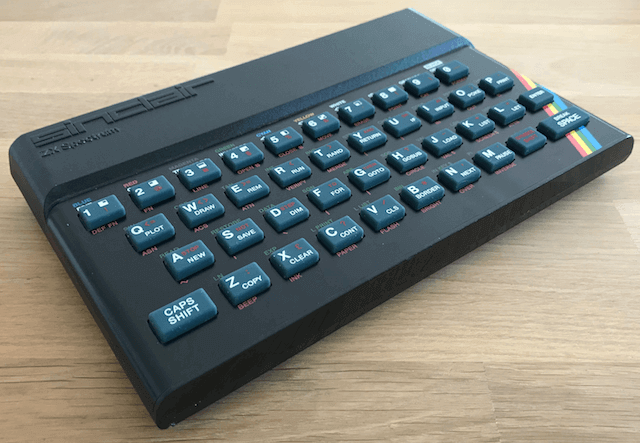 The refurbished ZX Spectrum
That’s one Speccy saved for posterity