
Sending Push Notifications from RPi using Pushover
My Raspberry Pi has been humming along for quit some time now. Next thing to add to the project is a mechanism to send notifications when certain events occur (sudden increase/drop in temperature, etc.). Probably the simplest method for sending these type of notifications would probably be via email, but I don’t like it. I would rather implement some sort of push notifications.
I am already using Pushover to have IFTTT send notifications from several services to my mobile devices. So for me it makes sense to use the Pushover service. The Pushover service itself is free (no monthly fees), however the client applications are priced at $4.99 (iOS or Android).
You might also use Twitter for instance. This comprehensive article describes how to send tweets from your Raspberry Pi.
The FAQ contains sample code for numerous programming languages (PHP, Python, etc.) and even command line examples on how to send notifications using the Pushover service. To be able to use these code samples you will need to create an application.
You can Register your application on the following page over at Pushover and complete the form presented 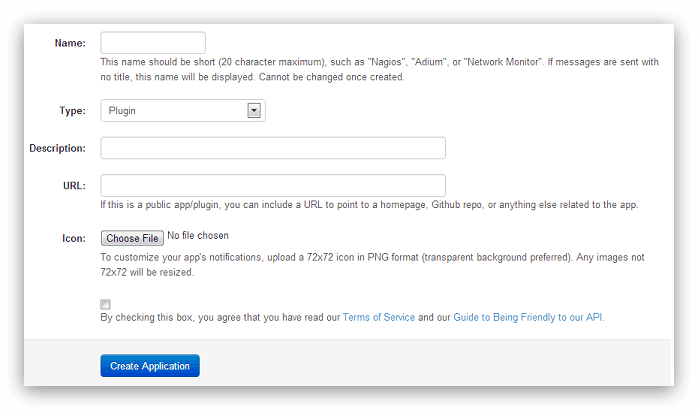 When your application is created a API Token/Key is presented.
NOTE: Every application allows you to send 7500 notifications per month (counter resets on the 1st of the month). If the case that 7500 notifications per month is not enough, you can buy 10.000 additional messages for $50 (or just create additional applications).
For Python there are two pieces of sample code provided on in the FAQ. Just make sure you pick the correct sample based on the version of Python you are running. For the Raspberry Pi I used the first piece of sample code, since mine is running version 2.7.3 of Python.
import httplib, urllib
conn = httplib.HTTPSConnection("api.pushover.net:443")
conn.request("POST", "/1/messages.json",
  urllib.urlencode({
    "token": "APP_TOKEN",
    "user": "USER_KEY",
    "message": "hello world",
  }), { "Content-type": "application/x-www-form-urlencoded" })
conn.getresponse()
You can check your version of Python with the following command
python --versionWith all of the code examples replace APP_TOKEN (line 5) with the token you received when creating your application and replace USER_KEY (line 6) with your own user key (presented your main page at Pushover).
Using the Python sample code I sent the following notification to my devices
| iOS | Android |
|---|---|
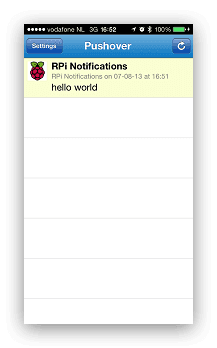 Notification on iOS Notification on iOS |
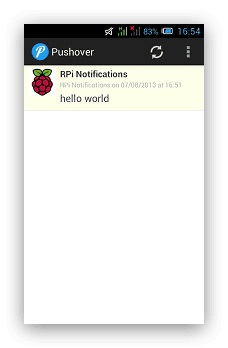 Notification on Android Notification on Android |
The sample code only uses the following three required parameters;
token- your application’s API tokenuser- the user key (not e-mail address) of your user (or you), viewable when logged into our dashboardmessage- your message
but there the API specifies also the following optional parameters;
device- your user’s device name to send the message directly to that device, rather than all of the user’s devicestitle- your message’s title, otherwise your app’s name is usedurl- a supplementary URL to show with your messageurl_title- a title for your supplementary URL, otherwise just the URL is shownpriority- send as -1 to always send as a quiet notification, 1 to display as high-priority and bypass the user’s quiet hours, or 2 to also require confirmation from the usertimestamp- a Unix timestamp of your message’s date and time to display to the user, rather than the time your message is received by our APIsound- the name of one of the sounds supported by device clients to override the user’s default sound choice
So if you want to you can customize your notification even further, but for that is something for a later date since I first need to decide for which events I want to send out notifications and at what intervals the events need to be checked…