
Refurbishing a ZX Spectrum 128 +2B keyboard
When I fixed the ZX Spectrum 128 +2B machine I simply replaced the non-working keyboard with a known to be working keyboard. If should be fairly straightforward to get this keyboard working again.
Cleaning the parts
The keyboard needed a good cleaning, it looked like it has never been cleaned it all the years of its existence. To make it easier to clean it I took the keyboard completely apart. This makes it much easier to soak all of the plastic parts in lukewarm water with a bit of detergent. This got rid of most of the dirt, the rest of it cloud be removed using some wet hygienic cleaning-tissues (for instance Dettol). They keys themselves also contain a little metal spring, so I simply used my heat-gun (you can also use a hair-dryer if you don’t have a heat-gun) to remove any water droplets inside the springs as to prevent any future corrosion. Be careful not to overheat the keys, otherwise you run the risk of deforming the keys.
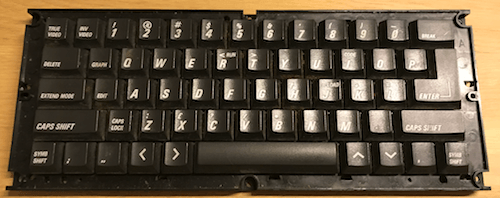 Parts before cleaning
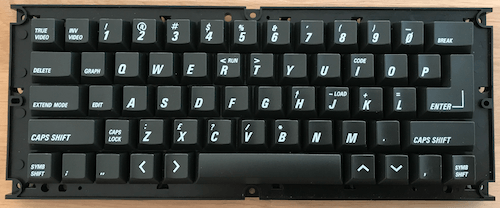 Parts after cleaning
After cleaning these parts most of the keyboard can be put back together again. I wasn’t paying attention when I inserted the keys and springs into the key-housing, so I had troubles putting the last key back into key-housing. The spring I was left with did not fit other the cylinder, it was too small. I hadn’t noticed that for the Enter a smaller spring is used.
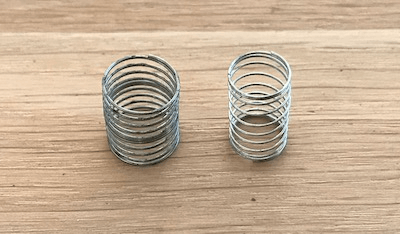 Two sizes of springs are used within the keyboard
I was fortune that I could determine this by just examining the back of the key-housing, preventing me from having to remove all of the keys again and start over.
 Back off key-housing and spotting the size difference springs
Clean and test the keyboard membrane
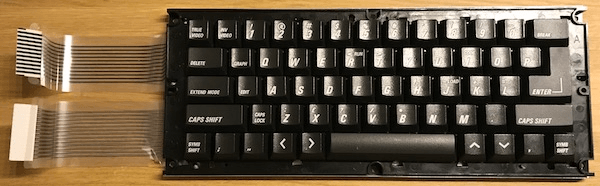
The keyboard membrane itself was a bit dirty as well. Since this part is the most fragile part of the keyboard I just gave it a good dusting, especially the ends of the flat-cable connectors. To test the keyboard membrane without having to fully assemble the rest of the keyboard I gently inserted the flat-cables into the appropriate molex connectors on the motherboard of the ZX Spectrum 128 +2B. After turning on the machine carefully test several connectors by compressing a node between your thumb and forefinger. I my case the ones I tested were working .
Now that the keyboard membrane appears to be working the rest of the keyboard can be assembled and I could properly test all of the keys.
Job done
A fully cleaned and working spare Keyboard for the ZX Spectrum +2A/+2B
 Refurbished keyboard for a ZX Spectrum +2A/+2B