Adding rounded corners to App Icons on the road
For the post Earning Bitcoins by playing games I want the include not only some screenshots from the applications, but also the application icons so one could easily identify the applications in the App Store.
Since I was abroad when I wrote the article I had only access to an iPhone 6 and an iPad Mini there were some challenges but in the end I managed to get everything done using my mobile devices.
Workflow app
To get the application icons you can search using Google and once you found the proper image store it on your device from there, but I found this to be very time consuming. Looking a bit further for other methods of getting hold of the icons I found that there is a workflow available for the Workflow app that does exactly what I needed it to do. The workflow is named App Images.
Browse iOS app icons and screenshots in the App Store with this awesome Workflow by @seaofclouds! https://t.co/5MF43Gsjgb
— Best Shortcuts (iOS) (@Best_Shortcuts) January 9, 2015
The workflow asks for the name of the app or the developer and presents you with a list of matches. Searching by developer name seemed to work the best for me. After selecting the application the workflow downloads the app icon and screenshots and presents them using the Quick Look action. For there you can store them on our device.
| Search | Select | Save |
|---|---|---|
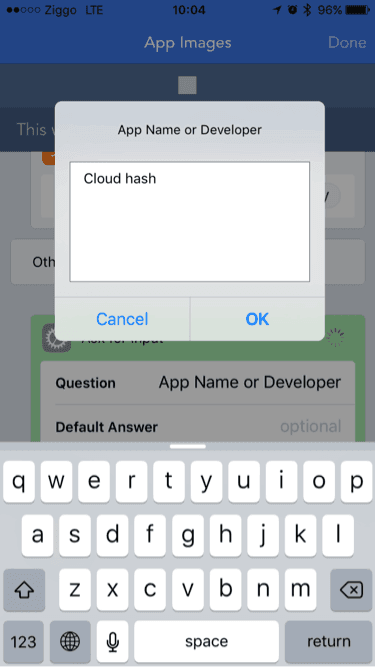 Search Search |
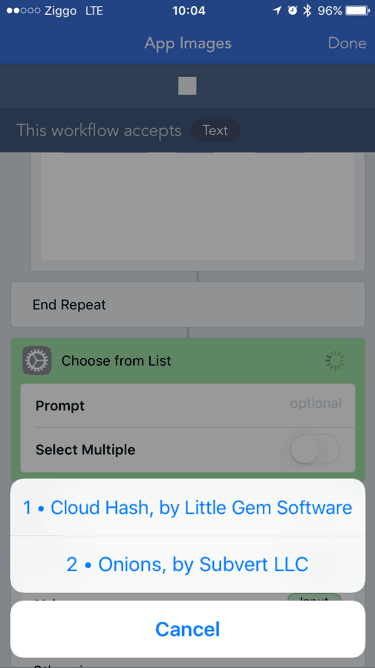 Select Select |
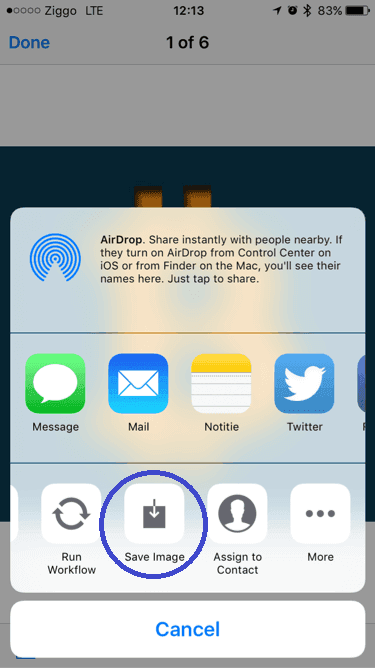 Save Save |
So at this point I have the necessary images, but most of the application icons don’t have the nice rounded corners to them.
Union - Combine, Blend, and Edit Photos
After trying several applications I finally found Union - Combine, Blend, and Edit Photos (€ 1.99). Within this application you have three layers: Background, Foreground and Mask. For this we need to provide a Mask image (a masking image representing the rounded app icon corners) and an application icon. Both images have the dimensions 512 by 512 pixels.
| Foreground | Mask |
|---|---|
 Foreground Foreground |
 Mask Mask |
Step by step instructions
- Start the Union application
- Tap + New to create a new project
- Tap Background => Blank and size it down to 544 by 544 pixels
- Tap the hamburger menu
- Tap Foreground => Photo and select the application icon and resize it to fully fill the square. Turning snapping on helps when resizing the image
- Tap the hamburger menu
- Tap Mask => Photo and select the masking image
- Tap the hamburger menu
- Tap Export => Save to Camera Roll or Send to App
Although the images used are 512 by 512 pixels, the image will be saved as 1024 by 2014 pixels (@2x).